Introduction
In this tutorial, I'll guide you through the process of building an interactive dynamic gallery using Webflow's CMS multi-image field feature. By the end of this tutorial, you'll have a visually appealing gallery where users can navigate through multiple images seamlessly.
Step 1: Setting Up Your Collection

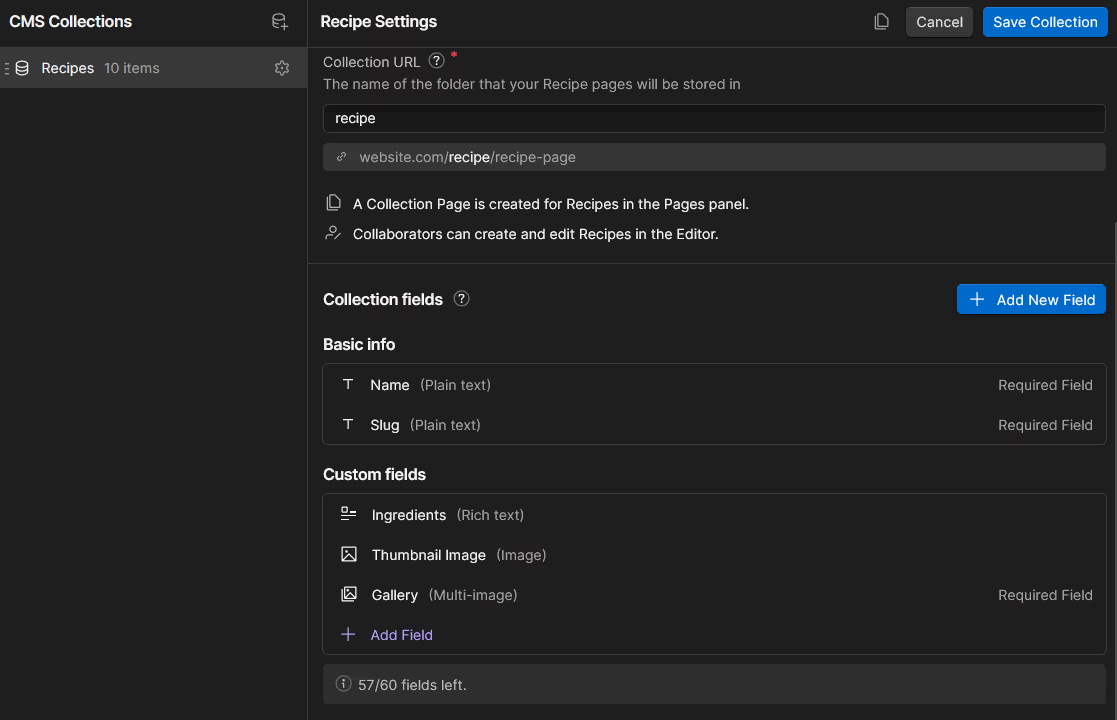
Begin by creating a collection in Webflow with a multi-image field. For example, let's say you have a collection named "Recipes" with a gallery of images for each recipe.
Step 2: Addressing Lightbox Issues
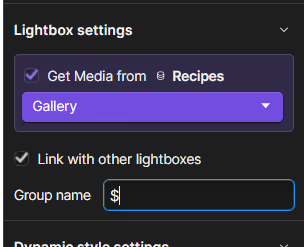
If you try to use the lightbox component directly within a collection list linked to the multi-image field, you might face a problem. Each collection item ends up with a separate lightbox containing only one image. To resolve this, group all the lightboxes by assigning them a common group name. This ensures that all images are displayed together in the lightbox.

Step 3: Designing Your Gallery Layout

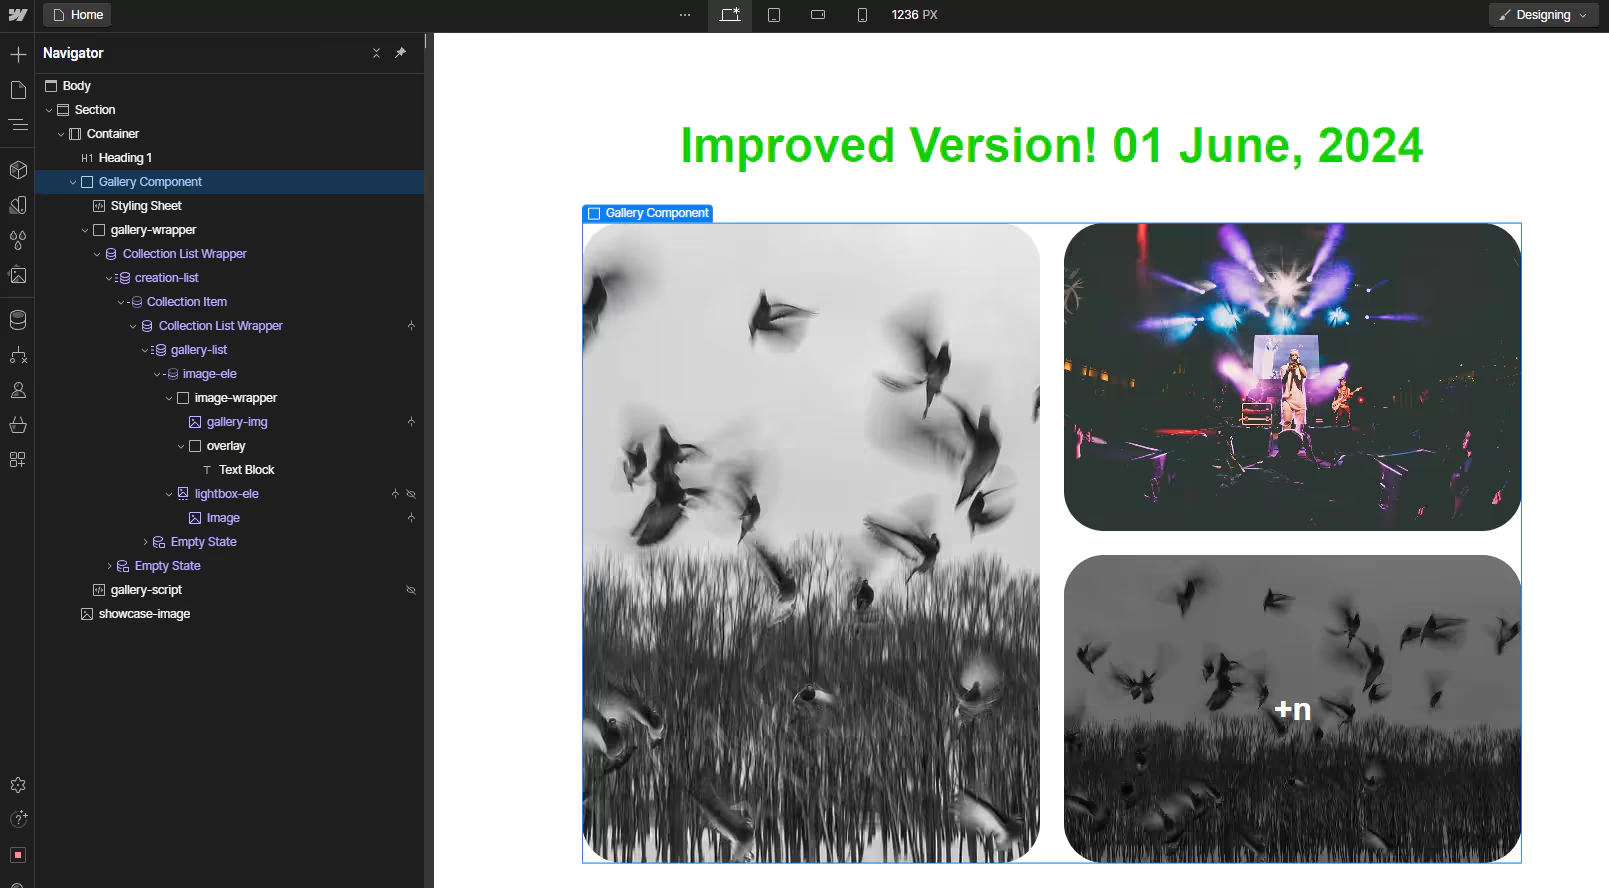
Style the list as a grid with 2 columns and add an overlay with "(+n)" indicating the number of additional images beyond the third one.
Feel free to utilize the CSS provided to style the grid, or if you prefer, you can create a different custom style 🎨
Step 4: Enabling Lightbox Functionality
To ensure that clicking on images in the gallery opens the lightbox, use the following JavaScript code:
This code is for a gallery of images. If there are more than 3 images, it shows an overlay on the third image indicating how many additional images there are. it also enables clicking on an image to trigger a click on the next sibling, which is the lightbox element 😀
Happy designing! 🌄


